Template for Virtual Machine
A template is a pre-configured disk image used to deploy virtual machines quickly. It contains an installed operating system with predefined settings and software, so you don’t need to install and configure the OS every time.
Importing a Template
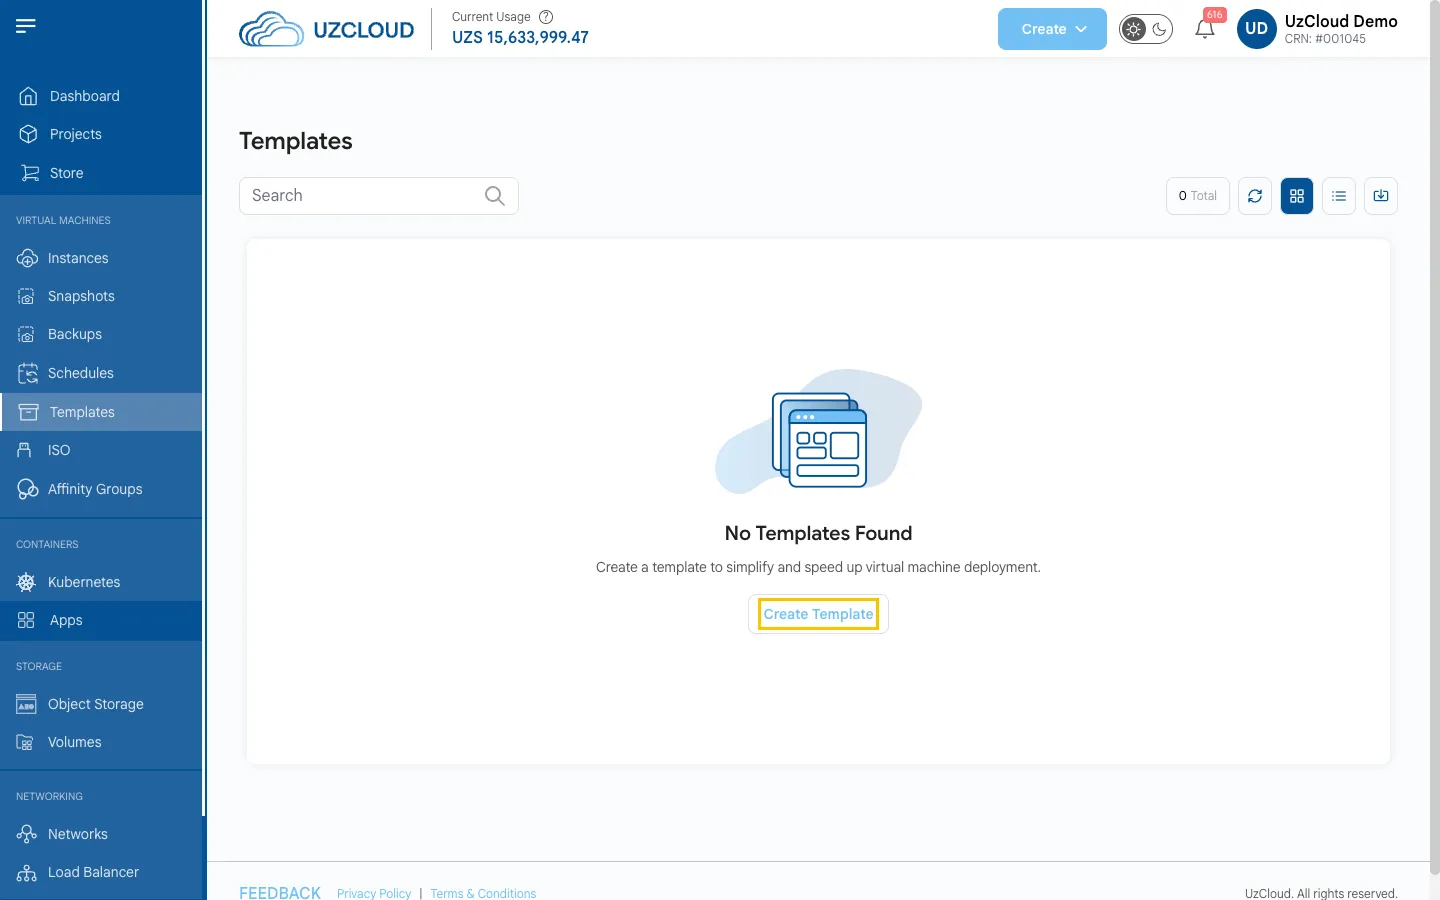
- From the left-hand menu, click Templates. The page shows your templates.
- Click Create Template. The Import Template page opens.
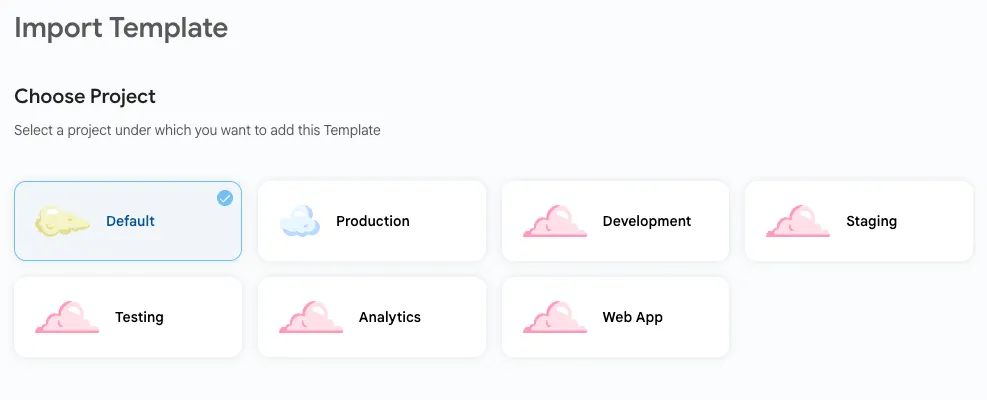
- Select the project to which the template will belong.
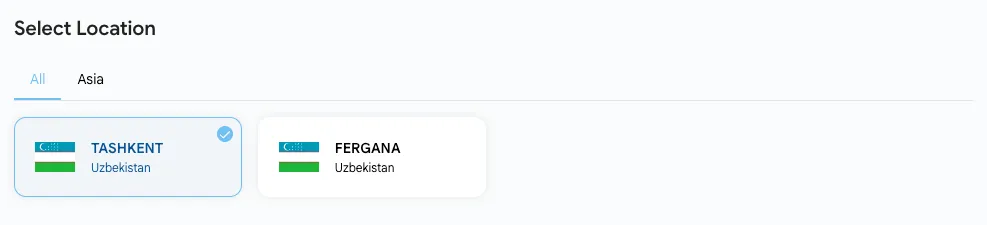
- Select the location where the template will be stored.
Template Details
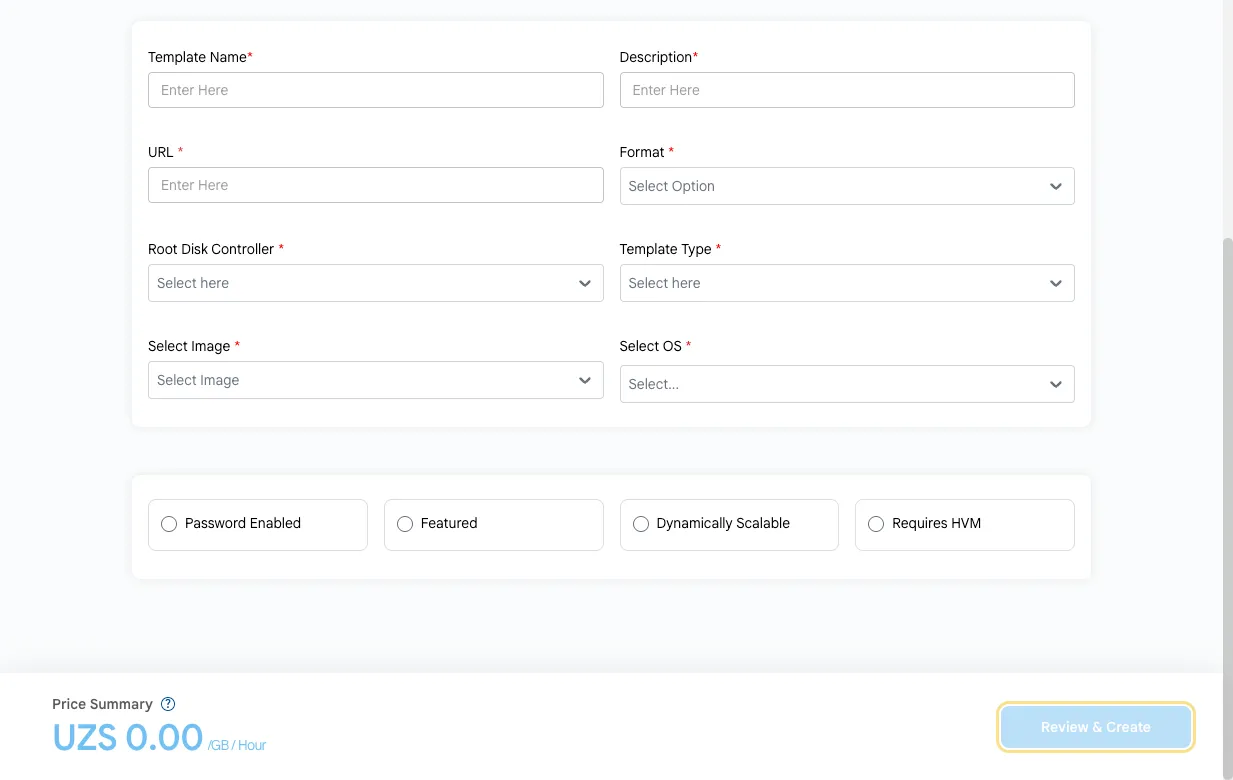
Fill in the required fields:
- Template Name and Description — a name and a short description of the template.
- URL — a link to the image file that will be imported.
- Format — the image format.
- Root Disk Controller — the controller used to boot from the root disk.
- Template Type — the category of the template.
- Select Image and Select OS — the image type and the operating system of the template.
Optional settings:
- Password Enabled — the template supports setting a password for new instances.
- Featured — mark the template as featured.
- Dynamically Scalable — instances created from the template support changing resources without stopping.
- Requires HVM — the template requires hardware-assisted virtualization (HVM).
Check the Price Summary (the cost is calculated per GB per hour) and click Review & Create.
Tip
You can also create a template from an existing volume: open the instance page, go to VM Settings → Volumes and click Create Template on the volume card.
Conclusion
Templates let you deploy virtual machines with the same configuration quickly and consistently. For further assistance, refer to the UzCloud documentation or reach out to support.